


How to Maintain and Clean Your Die-Cast Stand Mixer
November 02, 2026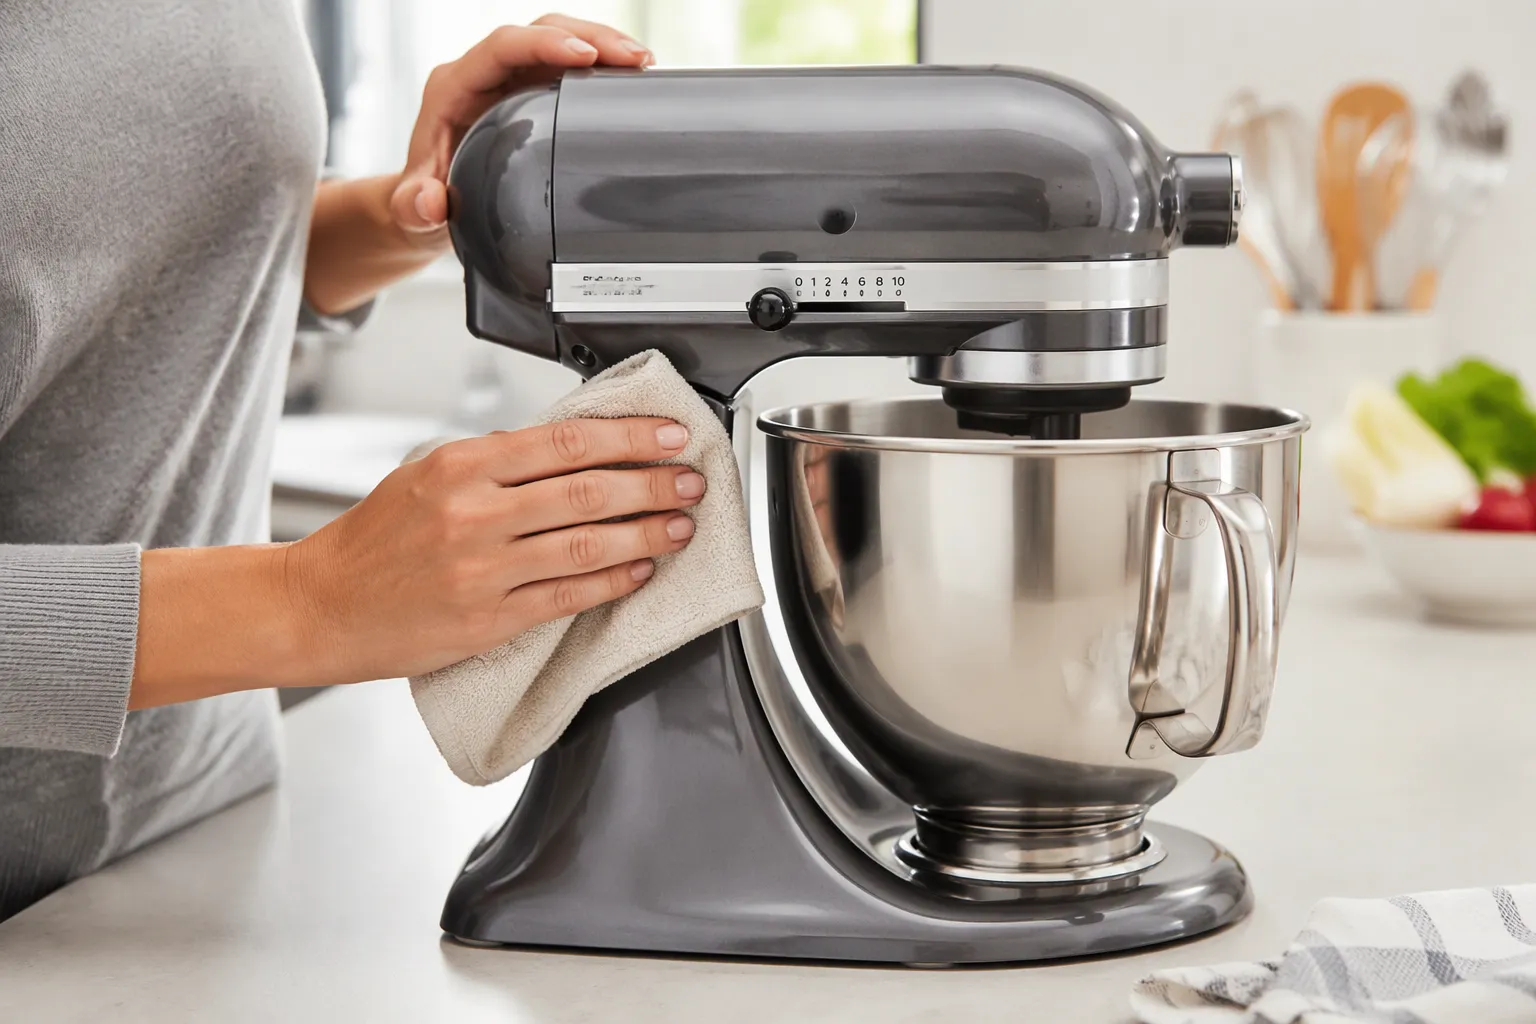
A simple routine keeps your Die-casting Stand Mixer in excellent condition:
Wipe the body after each use.
Deep clean the bowl and attachments monthly.
Lubricate and inspect belts, cords, and controls periodically.
Die-cast mixers need specific care because the metal finish protects the housing and the internal components. Moisture and flour dust cause the most damage over time. A damp cloth handles daily messes, and dry storage protects the finish. You need no special tools for this routine. A soft cloth, mild soap, and a few minutes of attention cover every step. Follow this rhythm, and your mixer stays clean, stable, and ready for the next batch.
Always unplug the mixer before cleaning or inspecting it to stay safe.
Wipe the die-cast body with a damp cloth after each use to prevent buildup.
Wash the bowl and attachments weekly with warm, soapy water.
Deep clean the attachment hub, crevices, and vents once a month.
Never put the mixer body in water; keep it dry to protect electrical parts.
A five-minute wipe-down after each mixing session prevents most buildup. Unplug the mixer first. Remove the bowl and attachments, then wipe the die-cast body with a soft damp cloth. Dry every surface completely before you store the unit. This quick pass removes flour dust and batter splatter before they harden.
Pay attention to the area around the speed dial and the attachment hub. Damp cloths work well on the metal finish. Never rinse the body under running water or place it in the sink. Moisture inside the housing damages electrical components and dulls the die-cast surface over time.
Once a week, give the bowl and attachments a thorough wash with warm water and mild soap. Check the cord and plug for wear during this weekly routine. Wipe the vents free of flour dust. These small habits take only a few extra minutes and keep the mixer running smoothly.
Once a month, move beyond surface cleaning. Remove the attachments and clean the attachment hub and crevices where flour collects. Inspect the belt area and listen for unusual sounds during operation. A monthly deep clean takes longer than the daily wipe-down, but it protects the internal components and extends the mixer's service life. Schedule this deeper session after heavy dough use as well, since dough residue can work its way into tight spaces.
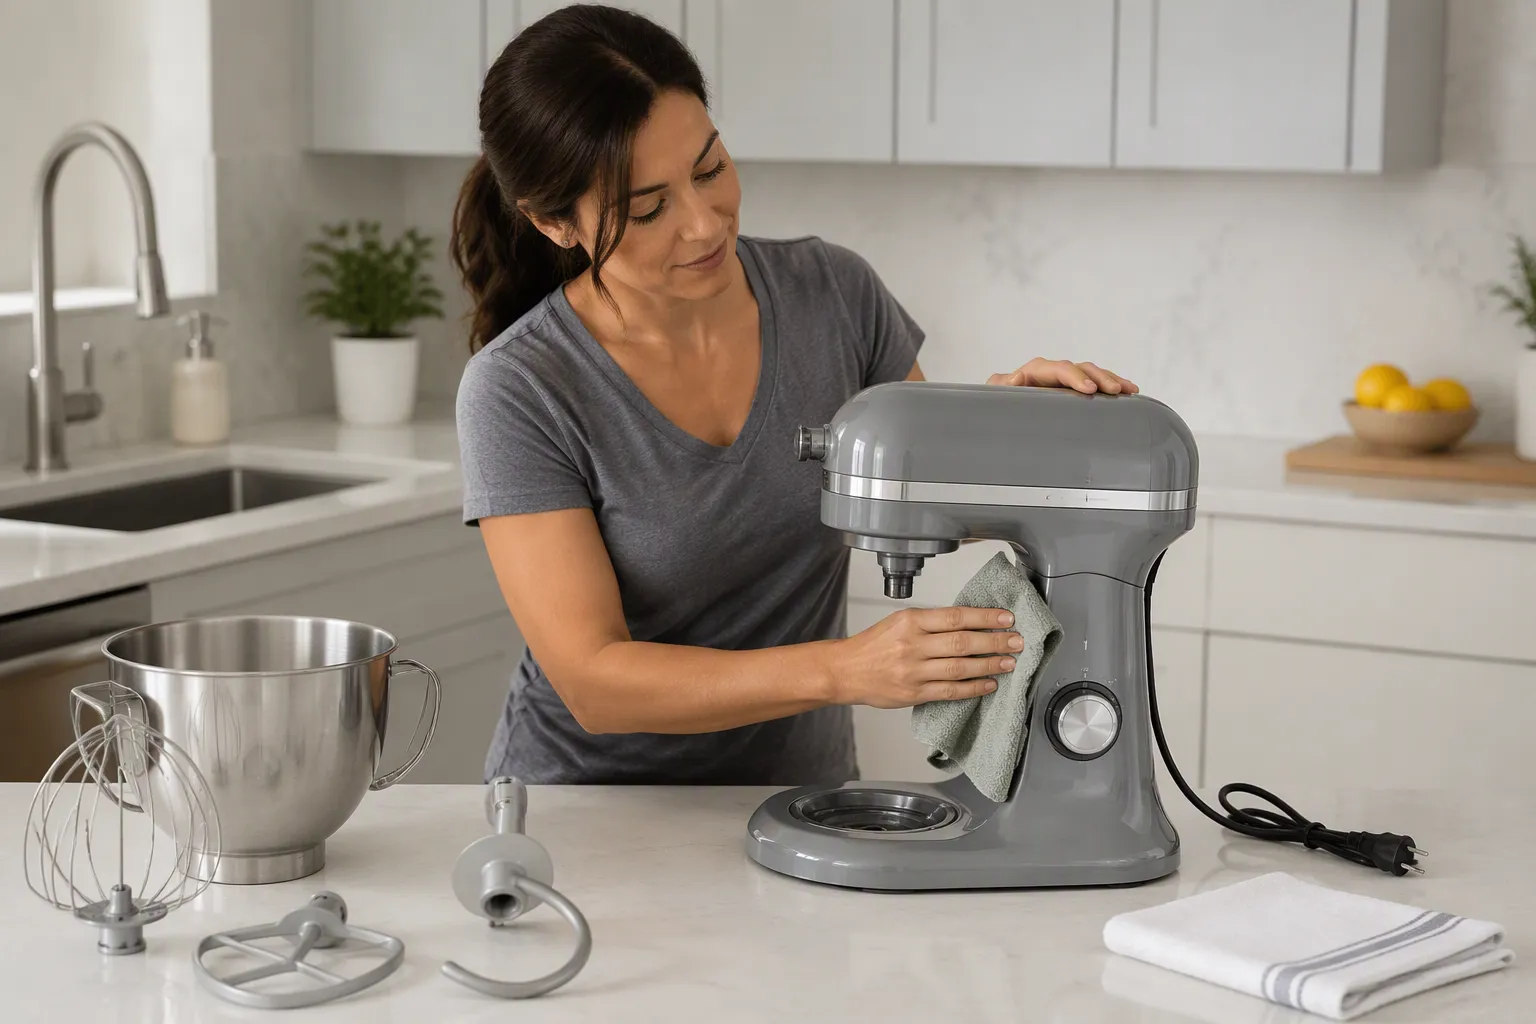
Daily care takes only a few minutes, and it delivers the biggest payoff for the finish and the internal parts. Work through the same sequence every time. The routine becomes automatic after the first week.
Start at the wall. Pull the plug from the outlet before you touch anything else. This single habit protects you from an accidental start and protects the controls from stray moisture.
Move to the mixing head next. Lower the head, twist the bowl free, and release each attachment from the hub. Set the bowl and attachments aside for washing. Keep the power cord loosely coiled and away from the sink area. A dry, unplugged mixer is a safe mixer, and this step costs you seconds.
Dampen a soft cloth with warm water. Wring it out well. A cloth that drips leaves streaks on the metal finish and pushes water toward the seams.
Wipe the body from top to bottom. Work around the head, the column, and the base. Pay extra attention to the speed dial and the attachment hub, where batter splatter tends to collect. A mild soap solution handles sticky spots. Apply it to the cloth, never to the mixer itself.
Follow this order for a clean result every time:
Unplug the unit and remove the bowl and attachments.
Wipe the die-cast body with a soft, damp cloth.
Dry every surface completely with a clean towel.
Store the mixer with the cord loosely wrapped.
Dry the body right away. Moisture left on the finish dulls the die-cast surface over time. Check the hub opening and the dial edges for trapped droplets. A dry cloth reaches these spots easily.
Never submerge the mixer body in water and never rinse it under a running tap. The housing contains electrical components, and water inside the casing damages them.
The bowl and attachments are a different story. They wash normally in warm, soapy water. Keep the body dry, and your Die-casting Stand Mixer stays ready for the next batch. This five-minute routine suits every model, including the SM-1524 Die-casting Stand Mixer with its 6.5L stainless steel bowl. Consistency matters more than effort here. A quick wipe today prevents a stubborn scrub next month.
Mild dish soap mixed with warm water handles nearly every cleaning job on your mixer. Apply the solution to a soft cloth, wring it out, and wipe the die-cast body. The soap lifts batter film and butter residue without attacking the metal finish. Rinse the cloth in clean water and wipe again to remove soap streaks.
For the bowl and attachments, the same mild soap works well. The 6.5L SUS304 stainless steel bowl on the SM-1524 model tolerates normal hand washing without special treatment. Use a soft sponge or nylon brush on the dough hook after heavy dough sessions. Warm water softens dried dough quickly, and gentle scrubbing removes it without scratching the surface.
Keep a microfiber cloth on hand for drying. Microfiber absorbs moisture fast and leaves no lint on the die-cast surface. A second cloth reserved for the body prevents cross-contamination between soapy and clean passes.
Abrasive cleaners damage the die-cast finish. Scouring powders, steel wool, and rough scrubbing pads leave scratches that dull the metal and trap residue. Skip them entirely, even on stubborn spots. A soft cloth and a little patience remove dried batter safely.
Solvent-based products pose a bigger risk. Bleach, ammonia, and heavy-duty degreasers can discolor the housing and degrade plastic parts such as the speed dial and vent grilles. Keep these products away from the mixer, and never mix cleaning chemicals together near the appliance.
Never spray cleaner directly onto the mixer body. Spray travels into seams, vents, and the attachment hub, where moisture damages electrical components.
Apply every cleaner to the cloth first. This habit keeps liquid out of the housing and gives you control over the amount of moisture on the finish. Store your cleaning cloths separately from abrasive kitchen pads, and your mixer stays scratch-free and dry.
Set aside time once a month for a full deep clean. Schedule the session sooner after heavy dough work. Dough residue hardens inside the hub and around the bowl base, and a monthly pass keeps those areas clear.
Start with the bowl. The SM-1524 Die-casting Stand Mixer ships with a 6.5L SUS304 stainless steel bowl, and that bowl handles warm soapy water without special treatment. Fill it with warm water and a few drops of mild dish soap. Let it soak while you work on the attachments. Soften dried batter and dough first, then wipe with a soft sponge. Rinse thoroughly and dry with a clean towel. Water spots on stainless steel come from air drying, so towel-dry every time.
Treat the dough hook with extra care after heavy dough sessions. The Die-Cast LED Display Stand Food Mixer includes a dough hook built for stiff doughs, and dried dough clings to the hook's spiral. Soak the hook in warm water until the residue loosens. Scrub gently with a nylon brush. Never pry at dried dough with a knife or metal tool, since sharp edges scratch the surface. Dry each attachment completely before you store it.
The attachment hub collects flour dust and batter splatter that daily wiping misses. Remove every attachment and look inside the hub opening. Wipe the interior with a soft damp cloth wrapped around your finger. Dry the opening right away with a clean cloth.
Work through the crevices next. The seam between the head and the column traps flour, and so does the gap around the speed dial. A soft cloth reaches most of these spots. A dry pastry brush loosens flour from tight corners without scratching the finish. Finish with a wipe-down of the vents, and keep them free of dust.
This deep clean suits any Household Appliances Electric Food Stand Mixer in the Sanlida lineup. Follow the monthly rhythm, and the machine stays clean inside and out.
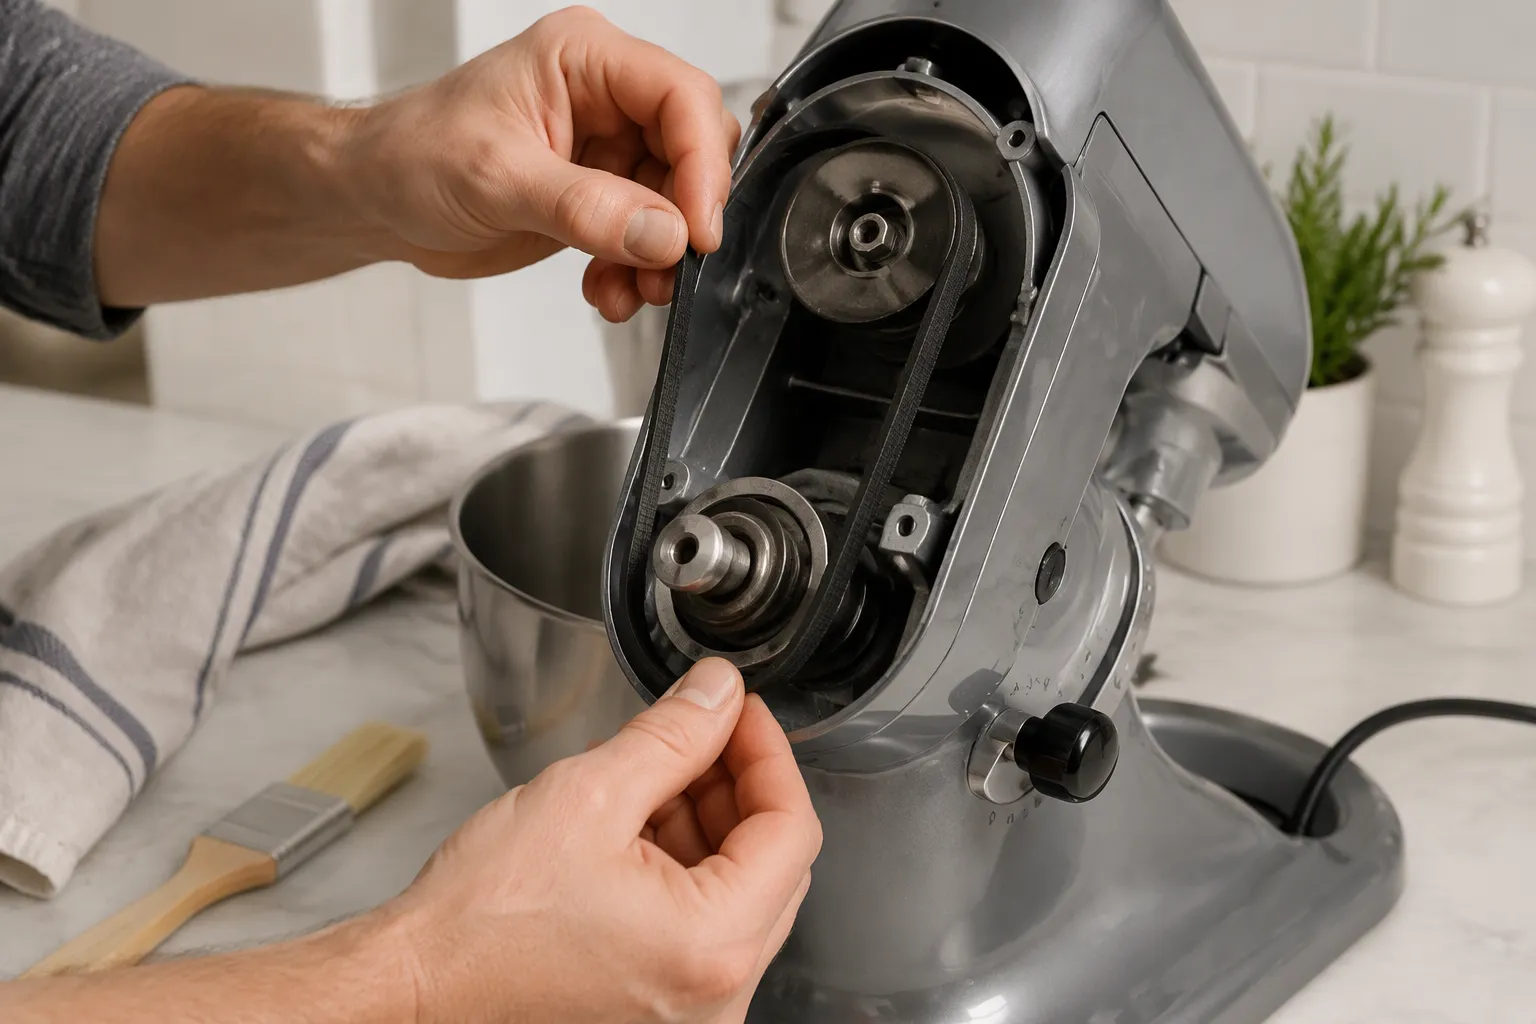
Sanlida builds these machines around a pure copper motor and full metal gears. That construction changes your maintenance focus. The gear train needs no routine internal service from you. Your inspection time goes to the belt, the cords, and the speed controls instead.
Check the belt area during your monthly deep clean. Remove the bowl and attachments first. Listen to the mixer during a short run at low speed. A healthy belt runs quietly and drives the head smoothly. A worn belt slips under load, and you hear a rhythmic squeak or a lag between the motor sound and the attachment movement. Stop the mixer and unplug it before you inspect anything. Look for fraying, glazing, or loose tension at the belt path. A belt that shows these signs needs replacement. Do not attempt to tighten or lubricate a belt yourself. Belt service on a die-cast housing requires partial disassembly, and a qualified technician handles that work correctly.
Keep flour dust away from the belt vents. Flour absorbs moisture and packs into tight spaces. A dry pastry brush clears the vent grilles during your monthly session. This small step protects the belt and the motor from unnecessary strain.
The power cord and the speed dial take the most daily handling of any part on the mixer. Inspect both once a month. Run your hand along the cord from the plug to the housing. Feel for cracks, cuts, or flat spots. Check the plug prongs for bent pins or discoloration. A damaged cord or plug means the mixer stays unplugged until a replacement arrives.
Test the speed dial through its full range with the mixer unplugged. The dial should turn smoothly and click into each setting without grinding. Wipe the dial edges with a soft damp cloth during your weekly routine. Dried batter in the dial gap causes stiff movement over time.
Unplug the Die-casting Stand Mixer before every inspection, cleaning, or attachment change. This habit protects you from an accidental start.
Keep the vents free of flour dust on a monthly schedule. Flour buildup restricts airflow and makes the motor run warmer. A clean vent grille supports the copper motor and helps it deliver steady power for years.
Store the cord loosely coiled. A tight wrap stresses the wire at the housing joint. Hang the cord or secure it with a soft tie, and the connection stays sound.
A consistent monthly check of belts, cords, and controls keeps your Die-casting Stand Mixer running quietly and reliably. These few minutes of inspection prevent most service calls and protect your investment in the machine.
A mixer that suddenly sounds louder usually has a simple cause. Stop the machine and unplug it. Check the bowl first. A bowl that sits crooked in its base rocks during mixing and produces a rhythmic knock. Seat the bowl firmly and twist it into the locked position. Next, inspect the attachment. A dough hook or beater that does not click fully into the hub wobbles at speed and rattles against the bowl. Push the attachment up until it seats, then tug it gently to confirm the lock.
Placement matters too. A die-cast body is heavy, but an uneven counter still lets the base rock. Move the mixer to a flat, stable surface and press down on each corner. If the wobble continues with a balanced bowl and a seated attachment, the belt may be slipping. A slipping belt produces a squeak that rises and falls with the load. Refer to your monthly belt inspection and arrange service if the sound persists.
Some problems belong in a technician's hands. Unplug the mixer and call for service if you notice a burning smell, a cord that feels warm during use, or a speed dial that no longer holds a setting. These signs point to electrical or control faults that routine cleaning cannot fix. The same rule applies to grinding noises from inside the housing. Sanlida builds these machines with a pure copper motor and full metal gears, so internal gear service stays rare. A grinding sound still warrants a professional look rather than a home repair attempt.
The Die-Cast Aluminum Stand Mixer for Kitchen and every other Sanlida model share this guidance. Keep your service records and note the date of each inspection. A technician who knows the machine's history diagnoses faults faster. Never open the housing yourself. The die-cast shell protects precision parts, and a proper repair preserves both safety and performance.
Your cleaning rhythm now has three tiers. Wipe the body after every use, wash the bowl and attachments weekly, and deep clean the hub, crevices, and vents monthly. Two golden rules hold the whole routine together: never submerge the mixer body, and always unplug before you clean or inspect it.
Start with the five-minute after-use wipe-down. Master that habit first, then add the weekly wash and the monthly inspection as they become second nature. Each layer builds on the one before it.
Treat the machine well, and your Die-casting Stand Mixer will reward you with quiet, steady performance for years of baking.
Wipe the die-cast body after every use. A soft damp cloth removes flour dust and batter splatter in about five minutes. Add a weekly check of the cord, plug, and vents. Schedule the deeper hub and crevice cleaning monthly, or sooner after heavy dough sessions.
No. The housing holds electrical components, and water inside the casing damages them. Keep the body dry at all times. The bowl and attachments wash normally in warm, soapy water. Wipe the body with a damp cloth instead, then dry every surface completely.
A rhythmic squeak that rises and falls with the load usually points to a slipping belt. Stop the mixer and unplug it first. Check that the bowl sits locked and the attachment seats fully in the hub. If the sound continues, arrange service rather than adjusting the belt yourself.
Brush the vent grilles with a dry pastry brush during your monthly session. Flour absorbs moisture and packs into tight spaces, which restricts airflow and makes the motor run warmer. Clean vents support the copper motor and help it deliver steady power.
Choose a flat, stable surface away from the sink. Coil the cord loosely and secure it with a soft tie, since a tight wrap stresses the wire at the housing joint. Confirm the body is fully dry before storage, and the die-cast finish stays protected.


Tel : +86-755-8450 0805
E-mail : sale@sanlidaco.com
No.27,Jiangjunmao lndustrial area, Wulian community, Longgang street,Longgang district, Shenzhen City, Guangdong Province, China 518083
© 2026 Shenzhen Sanlida Electrical Technology Co.,Ltd
